1.Install Elipse Mobile Server on the local machine, by checking with the instructor on which folder the installer is or by downloading it at Elipse Software's website.
2.After installation, the default browser is opened to define server's user and password.
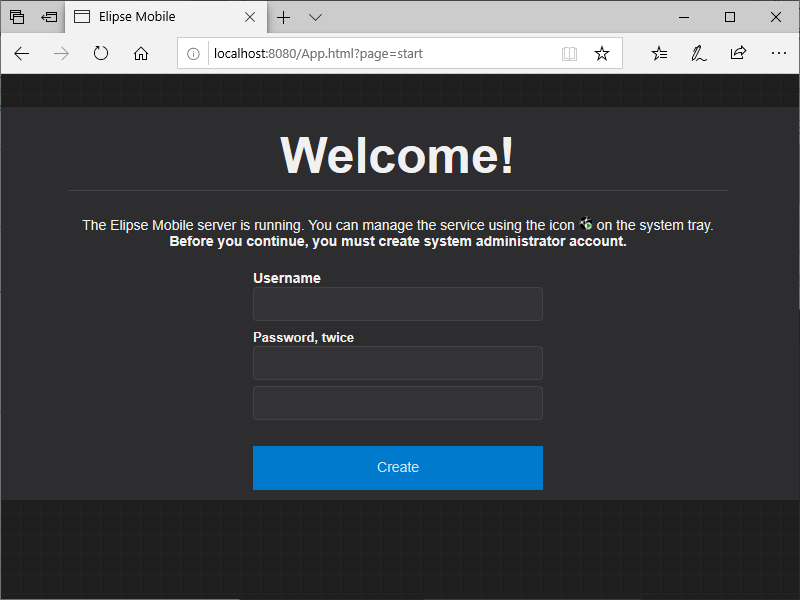
Elipse Mobile Server's initial screen
3.A welcome screen is opened informing that an example application is already executing. Click OK.
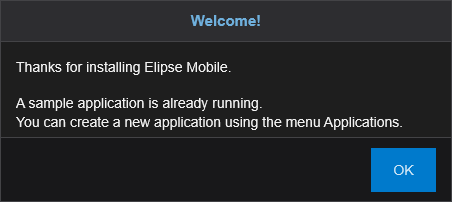
Welcome screen
4.Click the main menu ![]() on the upper left corner and select the Applications item.
on the upper left corner and select the Applications item.
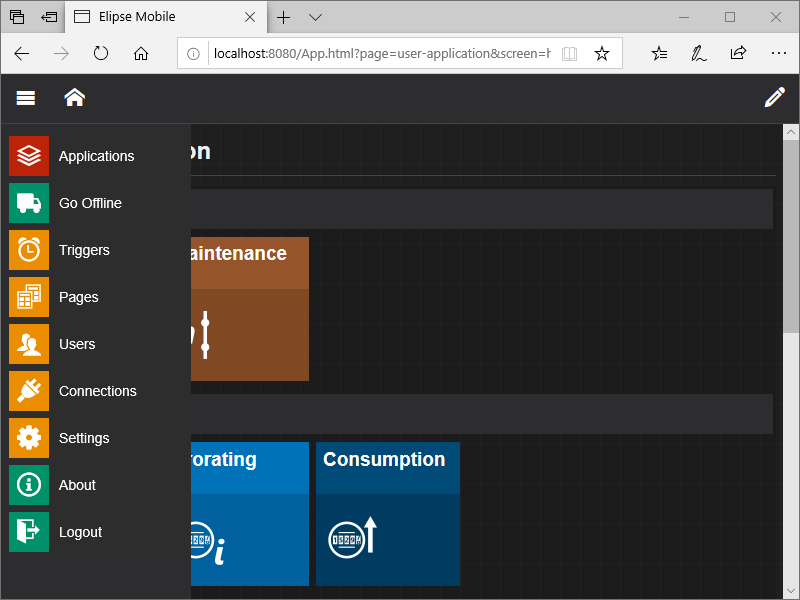
Applications menu
5.Click Add ![]() , define a name for this application, leave the Template field in Empty, and the Use Elipse Icon Library option selected.
, define a name for this application, leave the Template field in Empty, and the Use Elipse Icon Library option selected.
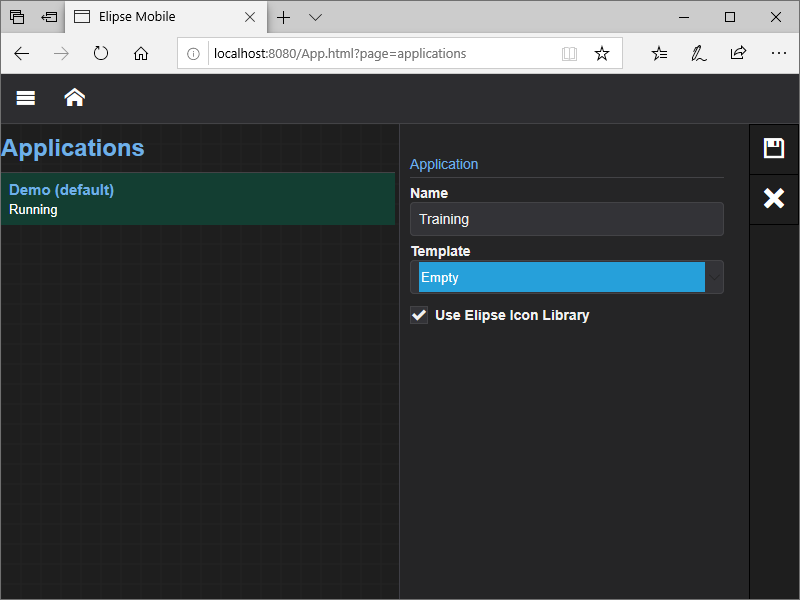
Adding an application
6.Select the previously created application on the Applications list and click Run ![]() .
.
7.Click again the main menu and select the Connections item.
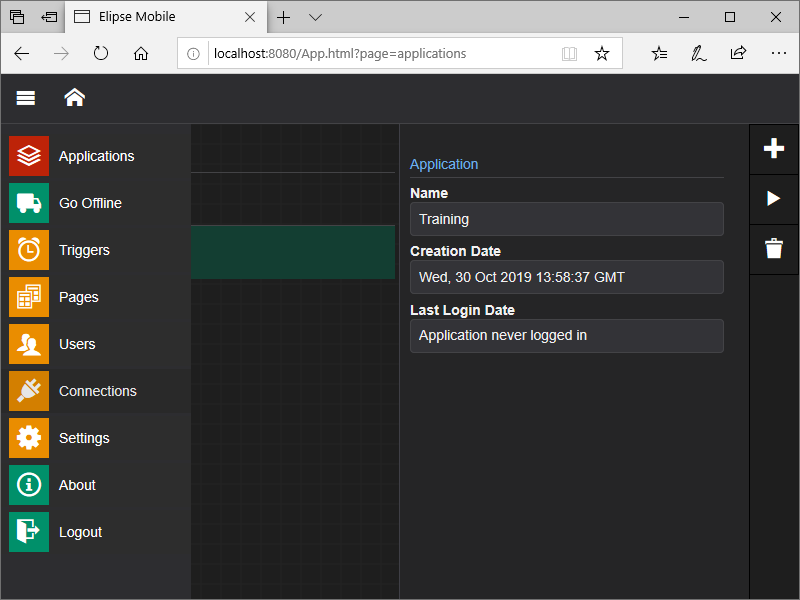
Connections menu
8.Add a new Connection and select the E3 item.
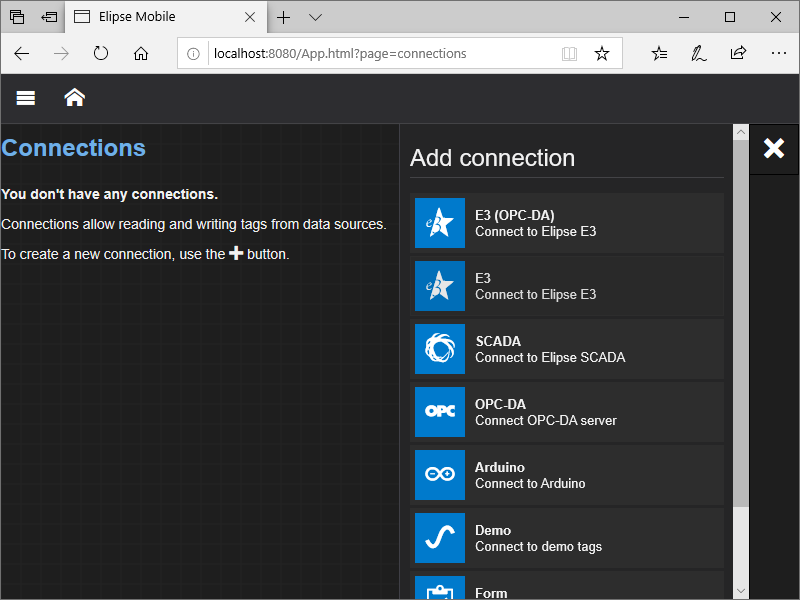
E3 Connection
9.Click Test and save this Connection.
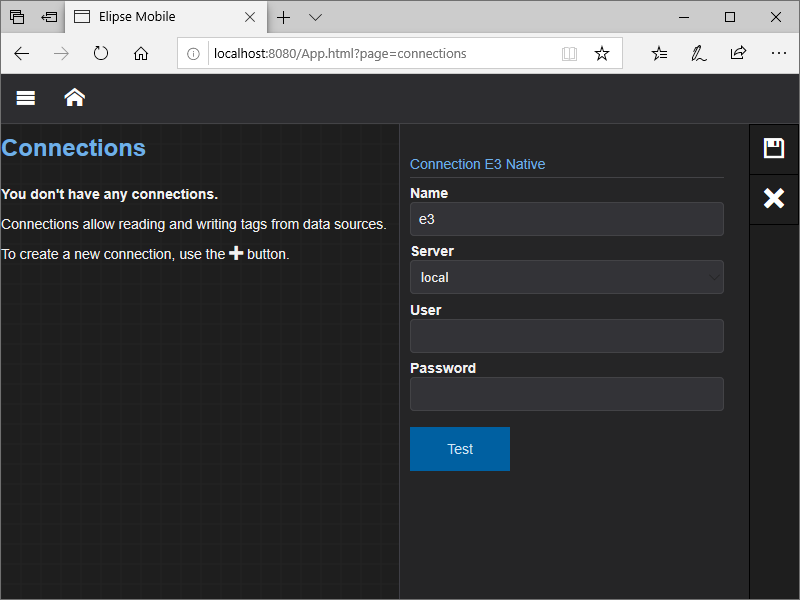
Connection to a local E3
10.Click Home ![]() on top of the screen to return to the initial screen.
on top of the screen to return to the initial screen.
11.Click Edit ![]() .
.
12.Add a new Setpoint-type control.
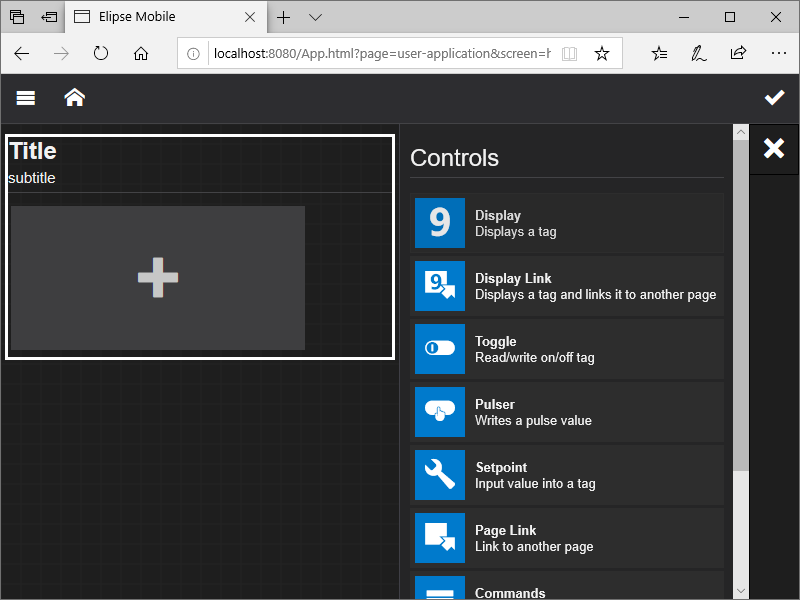
Adding a SetPoint
13.This control configures the amount of red on Tank 1 by accessing the Internal Tag Red on Folder Tank1.
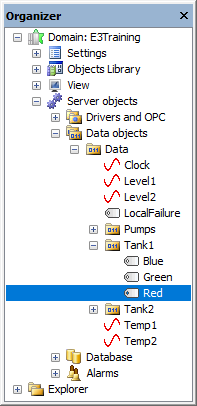
Internal Tag
14.Click Tag ![]() to access the Internal Tag Red, as shown on the next figure.
to access the Internal Tag Red, as shown on the next figure.
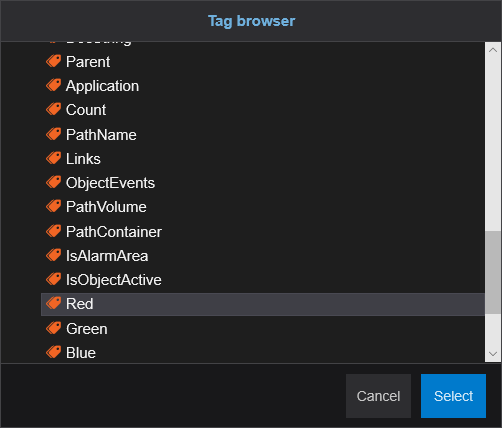
Selecting a Tag
NOTE |
To access Tags from an E3 application, the Domain must be active. |
15.Configure all other options as needed and click Save.
16.Click Run and click the Setpoint object to change its value. Compare it with Internal Tag's value on the E3 application.